Going to the dentist for a filling is a common experience, but have you ever wondered exactly what happens while you are sitting in that chair? Modern dentistry has evolved far beyond simply plugging a hole. Today, dental professionals utilize highly advanced methods to ensure that your repaired tooth looks, feels, and functions exactly like a natural one. One of the most fascinating and effective methods used in contemporary cosmetic and restorative dentistry is known as the “Stamp Technique.” This innovative approach guarantees a perfect anatomical match, and breaking down the process reveals just how much artistry and science goes into preserving your smile.
The Root of the Problem: Understanding Tooth Decay
Before diving into the restoration process, it is essential to understand why a filling is necessary in the first place. The dark, brownish spots you might notice in the deep grooves of your molars are telltale signs of tooth decay, commonly known as cavities.
Our mouths are naturally home to millions of bacteria. When we consume sugary or starchy foods, these bacteria feast on the remnants left behind in the nooks and crannies of our teeth. As a byproduct of this feast, the bacteria excrete acid. Over time, this acid erodes the hard, protective outer layer of the tooth—the enamel—eventually creating a small hole. If left untreated, this decay can penetrate deeper into the softer layers of the tooth, causing severe pain and potentially leading to root canals or tooth loss.
What is the Stamp Technique?
Traditionally, after a dentist removes the decayed portion of a tooth and packs it with filling material, they must manually carve and shape the filling using specialized instruments. The goal is to recreate the tooth’s original biting surface (occlusion) so that your upper and lower teeth meet perfectly when you chew.
The Stamp Technique revolutionizes this process. If the tooth’s original occlusal anatomy is still relatively intact before the procedure begins, the dentist can create a precise physical mold—a “stamp”—of the tooth’s surface. This stamp is then used later to press the exact natural grooves and ridges back into the soft filling material before it is hardened.
The Procedure: A Step-by-Step Walkthrough
Phase 1: Creating the Blueprint The procedure begins uniquely. Before any drilling occurs, the dentist applies a specialized flowable material over the top of the tooth. They are not filling the cavity yet; they are capturing the tooth’s natural blueprint. An applicator is used to press this material into the existing grooves. Once temporarily hardened, this creates a tiny, custom stamp of your specific tooth, which is set aside for later.
Phase 2: Removing the Decay With the stamp safely created, the traditional restorative work begins. The dentist uses a high-speed dental drill to carefully excavate the decayed, damaged portions of the tooth. This step is critical; all the bacteria-laden, softened tooth structure must be removed to prevent the cavity from spreading beneath the new filling.
Phase 3: Preparing the Canvas (Etch and Bond) Once the tooth is clean, the surface must be prepared to hold the new filling. The dentist applies a blue gel, known as an etchant (typically a mild phosphoric acid). This blue gel gently roughens the microscopic surface of the tooth. After the gel is washed away, a clear bonding agent—a specialized dental adhesive—is applied. This sticky layer acts as the glue that will seamlessly fuse the natural tooth structure to the artificial filling material.
Phase 4: Filling the Void Next, the dentist packs the cleaned cavity with a composite resin. This is a pliable, tooth-colored material that looks completely natural and blends in with the surrounding teeth. The dentist fills the space right up to the top, but rather than spending time painstakingly carving the surface by hand, they leave it slightly overfilled.
Phase 5: The Magic of the Stamp This is where the previously made stamp comes into play. A thin layer of protective tape (like Teflon) is sometimes placed over the soft composite to prevent sticking. Then, the custom stamp is pressed down firmly onto the unhardened filling. When the stamp is lifted, the composite material is perfectly molded to mirror the tooth’s exact original anatomy. Every tiny ridge and valley is perfectly recreated in an instant.
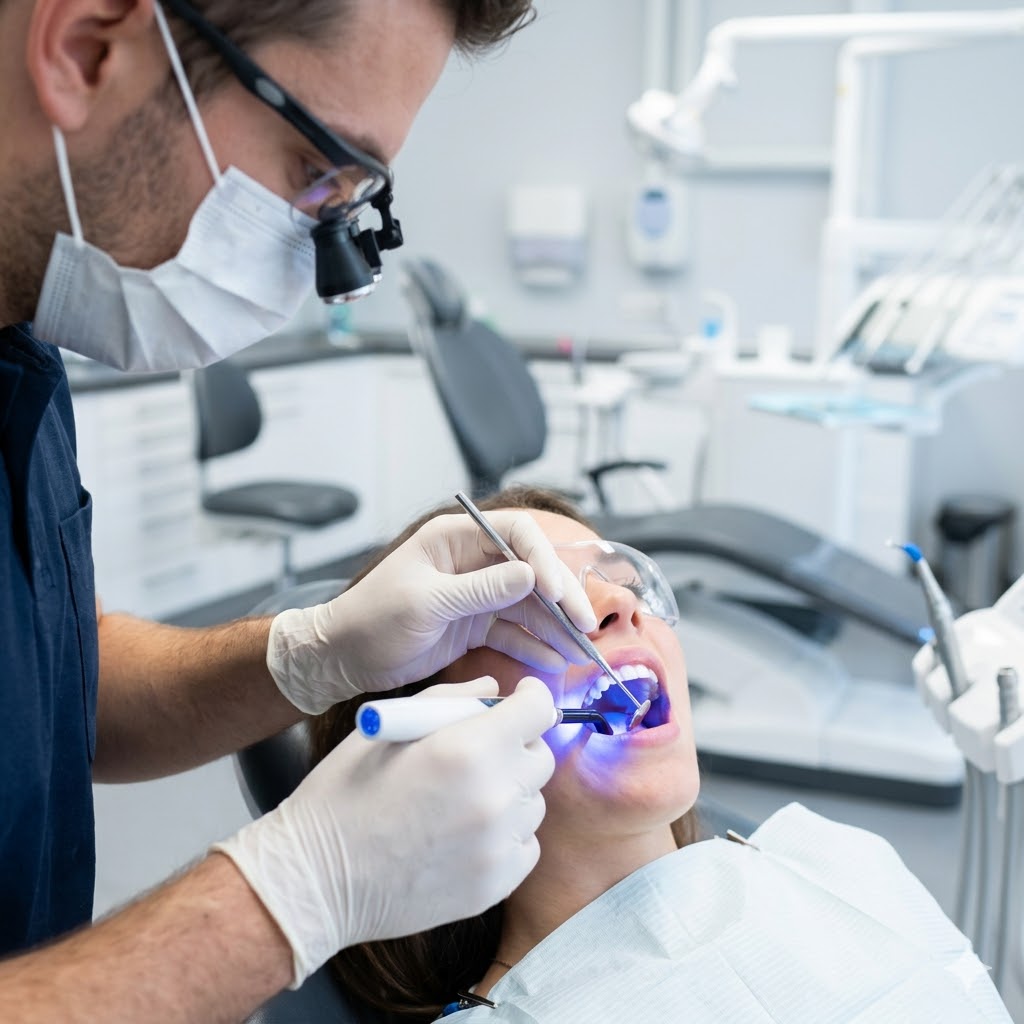
Phase 6: Curing and Polishing To set the filling permanently, the dentist uses a specialized blue ultraviolet light. This light triggers a chemical reaction in the composite resin, hardening it into a durable surface almost instantly. Finally, the dentist uses a series of fine polishing burrs and cups—often color-coded, such as green and white—to smooth the edges and bring the filling to a natural, glossy shine.
The Long-Term Benefits
The primary advantage of the Stamp Technique is the flawless restoration of your natural bite. Because the filling is molded from the tooth’s own unique blueprint, patients rarely need uncomfortable bite adjustments after the numbness wears off. It feels completely natural immediately. Furthermore, a perfectly sealed and anatomically correct filling is easier to keep clean and less prone to future wear and tear, contributing to much better long-term oral health.
Conclusion
The Stamp Technique is a testament to how far restorative health care has come. By combining microscopic precision with innovative materials, dentists can repair damage while perfectly preserving the natural biomechanics of your mouth. While maintaining a rigorous daily routine of brushing and flossing is always the best way to prevent decay, it is reassuring to know that if a cavity does form, advanced techniques exist to restore your smile to its absolute perfection.